Imagine creating a toy zoo that brings endless fun right to your home. You can build a magical world where your favorite animals come to life, sparking your creativity and imagination.
Whether you want a small corner or a big display, this guide will show you simple steps to make your toy zoo amazing. Ready to turn your toys into a wild adventure? Keep reading, and you’ll discover how easy and exciting it is to build your own toy zoo!
Choosing Your Zoo Theme
Building a toy zoo is a fun and creative project that can be tailored to your child’s interests and imagination. Choosing your zoo theme is a crucial step that sets the stage for the entire experience. Whether it’s a safari adventure or a rainforest retreat, the theme will guide your decisions as you select animals, decide on the size, and pick a color scheme. This section will help you create a cohesive and exciting toy zoo that will captivate any young animal enthusiast.
Selecting Animal Types
Your theme will greatly influence the types of animals you include in your toy zoo. If you’re aiming for a safari theme, consider including lions, elephants, and zebras. For a rainforest theme, think about adding monkeys, toucans, and frogs. Mix and match animal types to create a diverse and engaging environment. Think about animals your child loves and include their favorites to make the zoo more personal and exciting.
Deciding On Zoo Size
The size of your toy zoo will depend on the space you have available and the number of animals you want to include. A smaller tabletop zoo might focus on a few key exhibits, while a larger zoo could have multiple zones for different animal types. Consider how much time you want to spend building and maintaining the zoo. A sprawling zoo can be fun but might require more upkeep and organization.
Picking A Color Scheme
Colors can bring your toy zoo theme to life. Choose a color scheme that reflects the environment you’re creating. A safari theme might use earthy tones like browns and greens, while a rainforest theme could incorporate vibrant colors like blues and reds. Use colorful materials for enclosures and paths to make the zoo visually appealing. Encourage your child to choose colors they love, ensuring the zoo is as unique as their imagination.
Gathering Materials
Gathering materials is the first exciting step in building your toy zoo. The right supplies will bring your vision to life and make the project enjoyable. Think about what animals and structures you want before you start collecting items.
Toy Animals And Figures
The heart of your toy zoo is the animals. Look for a variety of toy animals to create a diverse and interesting zoo. You can find plastic figures, stuffed animals, or even small models from craft stores, toy shops, or online.
Consider including common zoo animals like lions, elephants, and giraffes, but don’t forget the birds, reptiles, and aquatic creatures. You might already have some at home from past toys, so check your collection before buying new ones.
Craft Supplies
Craft supplies help you build enclosures, signage, and decorations for your zoo. Basic items like glue, scissors, colored paper, markers, and tape are essential. Adding popsicle sticks, pipe cleaners, and felt can create fences, trees, or water features.
Think about textures and colors that match the animals’ natural habitats. For example, green felt or paper can represent grass, while blue cellophane can stand for water. These details make your zoo come alive and encourage imaginative play.
Recyclable Items
Recyclable items offer a creative and eco-friendly way to build your zoo’s structures. Cardboard boxes can become animal shelters or visitor centers. Bottle caps, egg cartons, and toilet paper rolls are perfect for small elements like stepping stones or food bowls.
Have you ever looked at trash and imagined it as something new? Using recyclables not only saves money but also teaches resourcefulness. Gather these items from your home before buying anything new to reduce waste and add uniqueness to your toy zoo.
Designing The Layout
Designing the layout of your toy zoo is where creativity meets practicality. This stage sets the foundation for how your zoo will look and feel. Thoughtful planning here ensures your toy animals have the perfect homes, visitors can explore easily, and the overall space feels lively and inviting.
Planning Animal Enclosures
Start by grouping animals that belong together or share similar habitats. Think about the size of each enclosure—does your lion need a big space to roam? Or is a small pen enough for the meerkats?
Use different materials or colors to define each animal’s area clearly. This helps you and anyone playing to instantly recognize which space belongs to which creature. Have you considered creating a mix of open areas and cozy spots to add variety?
Creating Pathways And Signs
Paths guide visitors through your zoo, making sure no animal gets overlooked. Design wide, clear walkways that connect all enclosures smoothly without causing confusion.
Adding signs is not just practical; it adds personality to your zoo. Write simple names or fun facts about your animals on small cards or flags. What creative names can you think of for your pathways?
Incorporating Water And Green Spaces
Water and greenery bring your toy zoo to life. A small blue cloth or paper can serve as a pond or river, while patches of green felt or fake grass create natural-looking fields.
These elements provide a refreshing break between enclosures and add realism. Try placing a water spot near animals that would naturally live near water, like ducks or hippos. How can you balance these spaces so they don’t take up too much room but still feel natural?

Credit: www.youtube.com
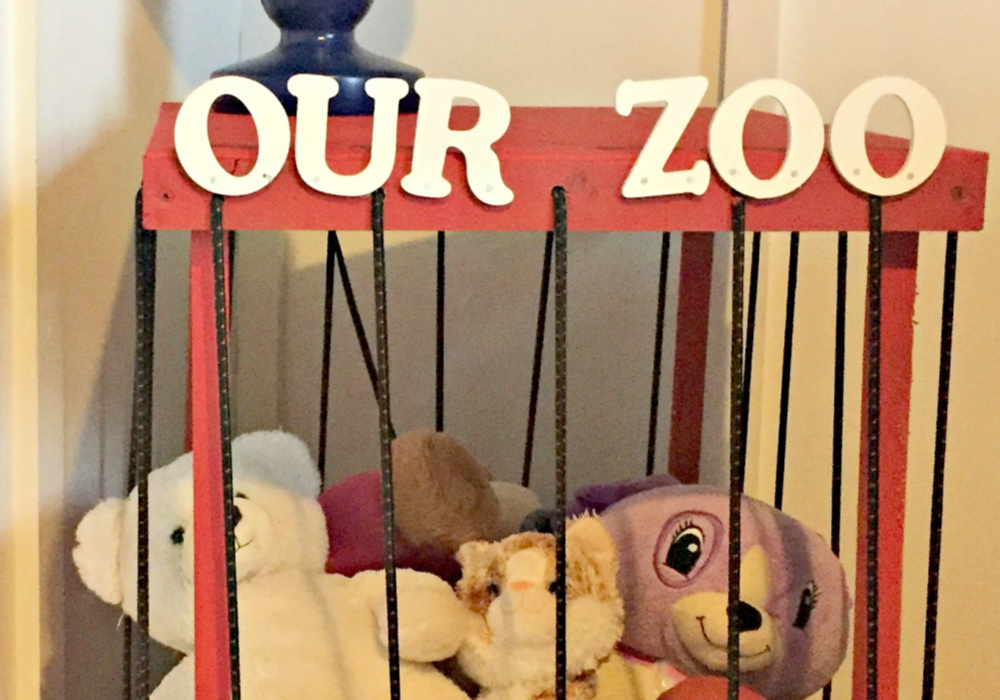
Building Enclosures
Building enclosures is a key part of creating a toy zoo that feels real and fun. You want each animal to have a space that suits its nature and sparks your imagination. Let’s look at simple ways to build these enclosures using everyday items and creative touches.
Using Boxes And Containers
Boxes and containers make excellent bases for animal enclosures. Cardboard boxes of different sizes can be cut and shaped to create pens, cages, or open habitats. Clear plastic containers work well if you want to see inside without opening them.
Try using shoe boxes for larger animals and small craft boxes for tiny creatures. You can paint or decorate these boxes to match the environment of each animal. Have you ever noticed how a simple box transforms when you add texture or color? It brings your toy zoo to life instantly.
Adding Natural Elements
Adding natural elements can make your enclosures feel more authentic. Use twigs, leaves, moss, or small stones to mimic the wild habitats of your animals. Even a handful of sand or dirt can create a convincing desert or beach scene.
Try collecting these materials from your backyard or a nearby park. This not only saves money but also connects you to nature. What natural items do you think your animals would find most comfortable or interesting?
Ensuring Safety And Stability
Safety and stability are important, especially if kids will play with your toy zoo. Make sure boxes are sturdy and won’t collapse easily. Tape and glue can strengthen weak spots and keep enclosures intact during play.
Check that no sharp edges or loose parts could hurt little hands. If you use small decorations, attach them firmly or keep them out of reach. How might you balance creativity with the need for a safe play environment?
Decorating The Zoo
Decorating your toy zoo is where your creativity truly shines. It transforms a simple collection of toys into a lively, immersive environment that tells a story. Thoughtful decoration can bring out the unique personality of each animal and make your zoo feel like a real adventure.
Painting And Detailing
Painting your toy zoo adds depth and character. Use bright, natural colors that reflect the habitats of your animals—greens for jungle areas, sandy browns for deserts, and blues for water zones.
Small details like spots on a giraffe or stripes on a zebra make a huge difference. You don’t need to be an expert artist; even simple brush strokes or dotting with a toothpick can bring toys to life.
Have you considered using different textures? Matte and glossy finishes can highlight features and make the animals pop.
Adding Miniature Accessories
Accessories create a realistic setting. Think about tiny trees, rocks, water troughs, or even miniature benches and signs.
Look for everyday objects you can repurpose—small bottle caps can be water bowls, and twigs can become fences. This adds authenticity without extra cost.
Try arranging these accessories in clusters rather than spreading them evenly. This mimics nature’s randomness and makes your zoo more visually interesting.
Lighting And Effects
Lighting changes everything. Soft LED lights can simulate sunlight or moonlight, giving your zoo mood and atmosphere.
Battery-operated fairy lights work great for a magical touch, especially around trees or paths. For a more dramatic effect, use small spotlights to highlight special animals or areas.
Have you thought about adding sounds or movement? Small motors or sound modules can simulate animal noises or rustling leaves, making your toy zoo more engaging and interactive.
Interactive Features
Interactive features make a toy zoo exciting and fun to play with. They encourage children to explore and use their imagination. These features bring the toy zoo to life, making every visit unique and engaging. Small details and moving parts keep kids interested for longer.
Creating Feeding Stations
Feeding stations add realism and fun to the toy zoo. Use small containers or cups to hold pretend food. Place these near animal toys to show where they eat.
- Use colored beads or buttons as food.
- Attach small scoops or spoons for feeding actions.
- Label each station with animal names or food types.
These stations invite kids to interact and care for animals. They learn about animal diets while playing.
Making Movable Parts
Movable parts make the toy zoo dynamic. Joints, wheels, or sliders can create movement.
- Attach animals to wheels for rolling play.
- Use simple hinges to make animal heads or limbs move.
- Add sliding doors or gates to animal enclosures.
Movement sparks curiosity and helps develop motor skills. It also adds realism to the play experience.
Setting Up Storytelling Areas
Storytelling areas encourage creativity and social play. Design small zones with props and seating.
- Include miniature benches or logs for toy animals to “rest.”
- Add signs or story cards with fun facts about animals.
- Use themed backgrounds to set the scene.
These areas invite children to create stories and adventures. They boost language skills and imagination.
Maintaining Your Toy Zoo
Maintaining your toy zoo keeps it fun and inviting. It helps your collection last longer and stay neat. Regular care makes sure every animal looks its best. It also keeps your zoo fresh and exciting.
Cleaning And Repairs
Clean your toy animals gently with a soft cloth. Use mild soap and water for tough dirt. Avoid soaking toys to protect colors and materials. Check for loose parts or broken pieces often. Fix small breaks with safe glue or tape. Keep your zoo tidy by arranging animals neatly.
Updating Animal Collections
Change your toy animals from time to time. Add new species to create variety and interest. Remove toys that are worn out or damaged beyond repair. Rotate animals to give each one a chance to shine. Keep track of animals you want to add next. This keeps the zoo feeling fresh and new.
Expanding The Zoo
Add new sections to your zoo as your collection grows. Use boxes, shelves, or tables to create more space. Design different habitats for different animals. Include trees, rocks, or water features using craft materials. Invite friends to help build and decorate. A bigger zoo means more fun and creativity.

Credit: www.facebook.com

Credit: www.youtube.com
Frequently Asked Questions
What Materials Do I Need To Build A Toy Zoo?
You need materials like toy animals, a base platform, glue, paint, and craft supplies. Use safe, child-friendly materials for durability and creativity.
How Can I Design An Engaging Toy Zoo Layout?
Plan animal habitats logically, group similar species, and add pathways. Include trees, water features, and signs to make it realistic and fun.
What Age Group Is Best For Building A Toy Zoo?
Toy zoos suit children aged 4 and above. Younger kids enjoy simple setups, while older kids can handle detailed designs and storytelling.
How Do I Teach Kids About Animals Using A Toy Zoo?
Use the toy zoo to explain animal habits, diets, and habitats. Encourage role play and questions to enhance learning and curiosity.
Conclusion
Building a toy zoo can be a fun and creative activity. You get to choose animals and design their homes. It helps you learn about animals and their habitats. Plus, it sparks imagination and storytelling. Keep your materials simple and safe.
Take your time and enjoy the process. Your toy zoo can grow with new animals and ideas. It’s a great way to play and learn at the same time. Start small, and watch your zoo come alive.