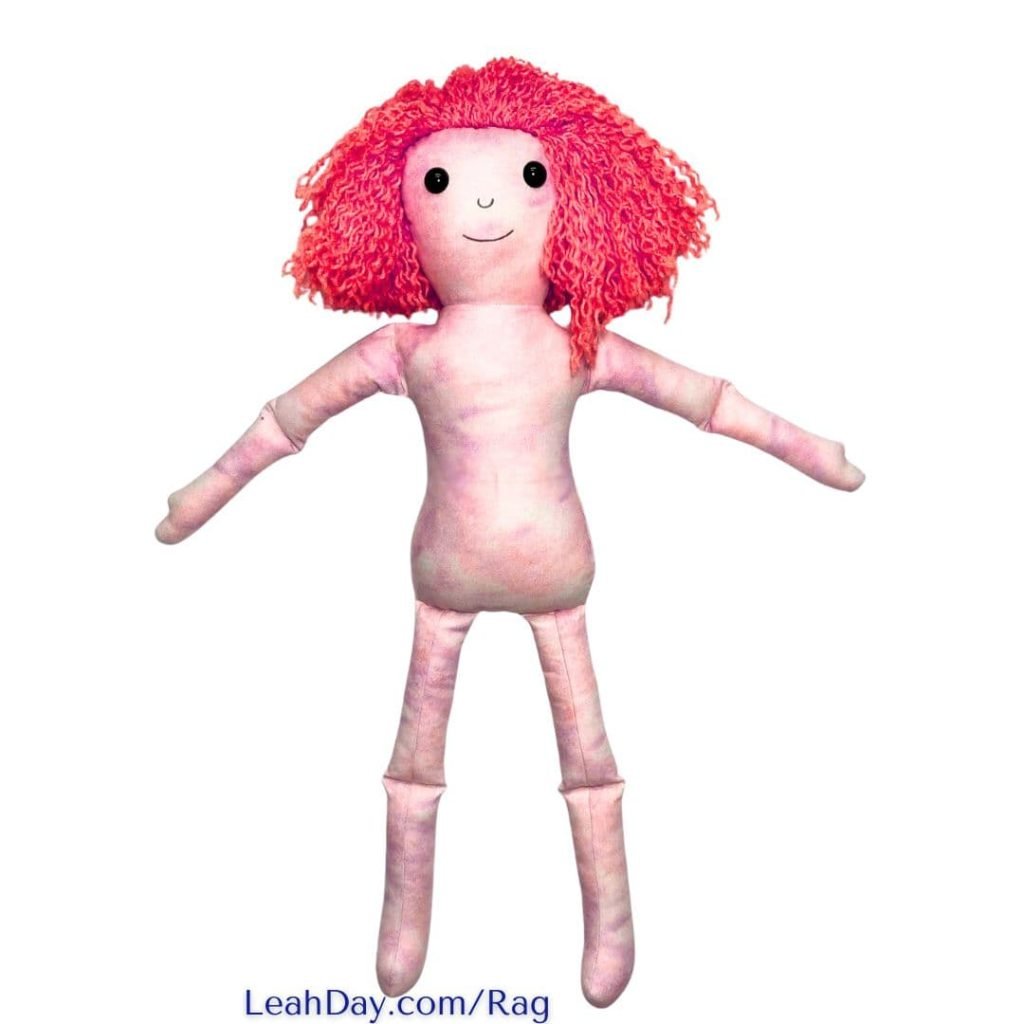
In this guide
Do you want to create something special with your own hands? Making rag dolls is a fun and simple way to bring your creativity to life.
Whether you’re a beginner or just looking for a new craft project, this guide will show you step-by-step how to make charming rag dolls that you can keep or gift to someone you care about. Imagine holding a soft, handmade doll that carries your personal touch.
Ready to start? Let’s dive into the easy and enjoyable process of making rag dolls together!
Materials Needed
Making rag dolls is a fun and creative activity. You need some basic materials to start your project.
Gathering the right materials helps you make a soft and beautiful doll.
Choosing Fabric
Pick soft and easy-to-sew fabrics for your rag doll. Cotton and flannel work well.
Use different colors or patterns to give your doll character and charm.
- Cotton fabric is soft and easy to sew
- Flannel adds a warm, fuzzy feel
- Use scraps or old clothes for variety
- Avoid slippery or stretchy fabrics
Essential Sewing Supplies
You need some basic tools to sew your rag doll by hand or machine. These supplies make the process smooth.
- Sewing needles for hand stitching
- Thread in colors matching your fabric
- Scissors to cut fabric and thread
- Pins or clips to hold fabric pieces
- Stuffing like polyester fiberfill
- Sewing machine (optional) for faster sewing
- Measuring tape or ruler for sizing
Optional Decorative Items
Decorations add personality to your rag doll. You can use simple items to make your doll unique.
Choose items that are safe and easy to attach to your doll.
- Buttons for eyes or clothing
- Yarn or embroidery floss for hair
- Fabric paint or markers for facial features
- Ribbons, lace, or small beads
- Felt pieces for clothes or accessories
Preparing The Fabric
Preparing the fabric is the first step in making rag dolls. Good preparation helps the doll look neat and last longer.
Start by choosing soft fabric that is easy to cut and sew. Wash the fabric to remove dirt and shrinkage.
Cutting The Pattern
Use a paper pattern to cut the fabric pieces for the doll. The pattern shows the size and shape of each part.
Place the pattern on the fabric and pin it in place. Cut carefully around the edges with sharp scissors.
- Lay fabric flat on a clean surface
- Pin the paper pattern on top
- Cut slowly to keep edges smooth
- Cut all needed pieces before sewing
Marking Details
Mark important details on the fabric pieces. These marks help when sewing the doll parts together.
Use a fabric pencil or tailor’s chalk to draw the marks. Avoid permanent markers that might show on the doll.
- Mark sewing lines and seam allowances
- Mark places for eyes, nose, and mouth
- Indicate where to stuff the doll
- Check all pieces for matching marks
Sewing The Doll Body
Sewing the doll body is an important part of making rag dolls. It shapes the doll and holds the stuffing inside. This guide covers stitching techniques and how to leave openings for stuffing.
Good sewing helps the doll last longer and look neat. Careful stitching also makes stuffing easier and the doll feel soft.
Stitching Techniques
Use simple stitches to join the fabric pieces. The most common stitch is the running stitch. It creates small, even stitches that hold the fabric well. Another option is the backstitch, which is stronger and helps prevent seams from coming apart.
- Use a needle that fits the fabric thickness.
- Thread the needle with strong thread.
- Make small, even stitches for a neat look.
- Keep stitches close together to avoid gaps.
- Double stitch corners for extra strength.
Leaving Openings For Stuffing
Leave a small opening in the seam to add stuffing later. The opening should be easy to sew closed after stuffing. Usually, this opening is left at the bottom or back of the doll.
| Step | Details |
|---|---|
| 1. Sew around the edges | Stop stitching about 2-3 inches before the end. |
| 2. Leave the opening | Keep this part unstitched for stuffing. |
| 3. Stuff the doll | Use soft cotton or fiberfill to fill the body. |
| 4. Close the opening | Sew the opening shut with small stitches. |
Stuffing The Doll
Stuffing your rag doll is an important step in doll making. It gives the doll its shape and feel.
Choosing the right stuffing material can make a big difference. Let’s explore some options and tips.
Choosing Stuffing Material
There are different materials you can use to stuff a rag doll. Each has its own feel and weight.
Common options include cotton, polyester, and wool. Cotton is soft and natural, polyester is light and fluffy, and wool is warm and firm.
- Cotton: Soft, natural, easy to find
- Polyester: Lightweight, fluffy, holds shape well
- Wool: Warm, firm, good for traditional dolls
Filling Tips
When filling your doll, start with small amounts. This helps you control the shape and firmness.
Use your fingers to push stuffing into small areas. A pencil or chopstick can help reach tight spots.
- Start with small handfuls of stuffing
- Use fingers or tools for tight spaces
- Adjust stuffing to get the right firmness
Adding Facial Features
Facial features give your rag doll personality. They can be simple or detailed, depending on your skill.
Let’s explore how to add eyes, a nose, and a mouth using different techniques.
Embroidery Basics
Embroidery is a great way to create facial features. It’s easy and requires minimal tools.
- Use embroidery floss for durable stitches.
- Start with a simple backstitch for outlines.
- Experiment with colors for added expression.
Using Buttons And Beads
Buttons and beads can make your doll’s face pop. They add texture and shine.
| Material | Use |
| Buttons | Eyes |
| Beads | Nose or embellishments |

Credit: leahday.com
Creating Hair
Making hair for rag dolls adds personality and charm. Yarn is a popular choice because it is soft and easy to work with.
Different yarn hair styles can change the doll’s look. Attaching hair properly keeps it neat and secure for play.
Yarn Hair Styles
Yarn hair can be styled in many ways. You can make straight, braided, or curly hair depending on the yarn and technique.
- Straight Hair:Cut yarn strands to the desired length and attach them evenly.
- Braided Hair:Divide yarn into three parts and braid tightly before attaching.
- Curly Hair:Wrap yarn around a pencil and steam lightly to create curls.
- Pigtails:Use small yarn bundles tied with thread for cute pigtails.
Attaching Hair Securely
To keep the hair attached well, you need strong sewing or gluing methods. Secure hair makes the doll last longer.
| Method | Materials Needed | Tips |
|---|---|---|
| Sewing | Needle, thread, yarn | Use small stitches close together |
| Hot Glue | Hot glue gun, yarn | Apply glue in small sections |
| Knotted Loops | Yarn, needle | Tie knots at the base for extra hold |
Dressing The Doll
Dressing your rag doll is a fun way to add personality. You can create simple clothes using easy patterns.
Adding accessories makes your doll unique and special. Small details bring the doll to life.
Simple Clothing Patterns
Start with basic shapes like rectangles and squares for clothes. These shapes are easy to cut and sew.
Use soft fabric like cotton or felt to make the clothes comfortable and safe for children.
- Cut a rectangle for a dress or shirt
- Sew two sides and leave space for arms
- Add elastic or ribbon for waist or neck
- Make simple pants with two rectangles sewn together
Decorating With Accessories
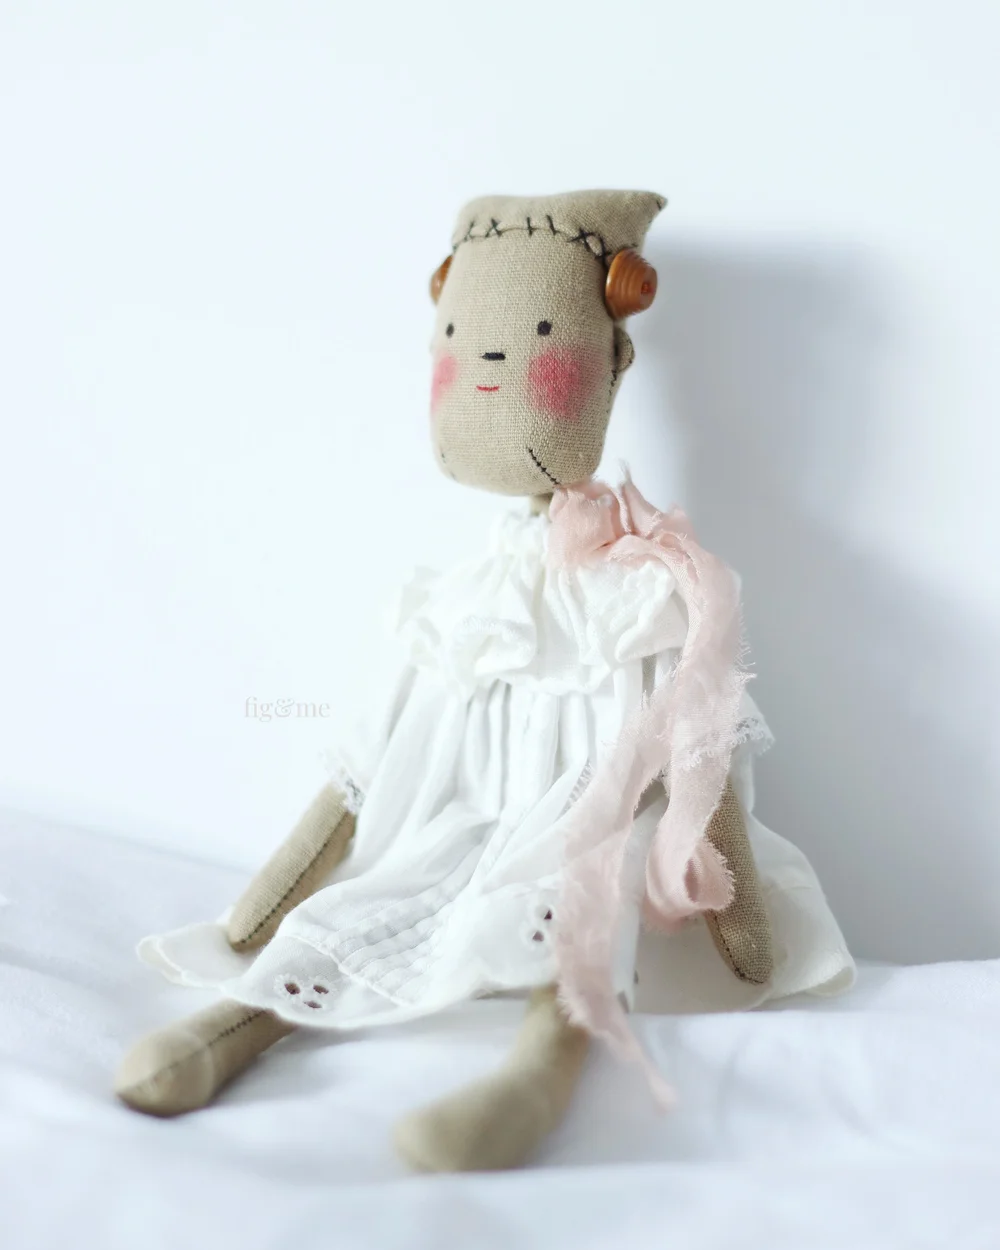
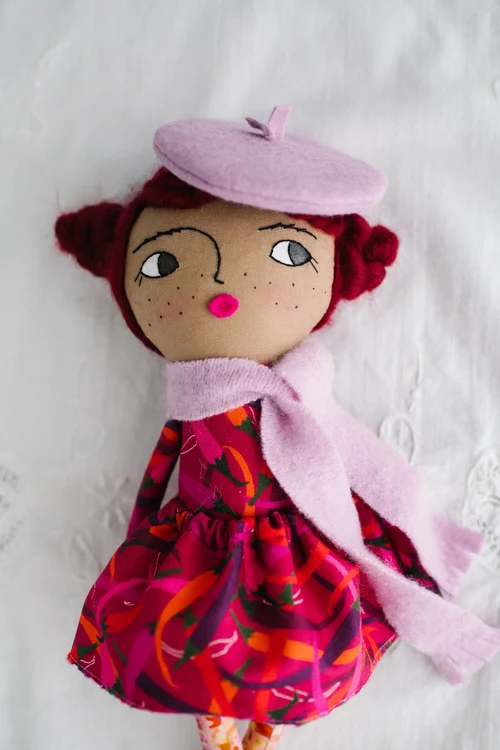
Accessories add charm to your rag doll. Small items like hats, scarves, or buttons work well.
You can use beads, ribbons, or embroidery to decorate clothes and make the doll special.
- Sew tiny buttons on shirts or dresses
- Make a small scarf from leftover fabric
- Add a hat using felt or knitted yarn
- Use embroidery to create patterns on clothes
Credit: www.figandme.com
Finishing Touches
Finishing touches make your rag doll look neat and special. These final steps keep the doll strong and add personality.
Take your time to secure all parts and add details. This helps your doll last longer and look unique.
Securing Loose Threads
Loose threads can make your doll look messy and fall apart. You must tie and hide these threads carefully.
- Use a needle to pull loose threads inside the doll.
- Tie knots close to the fabric to stop unraveling.
- Trim extra thread ends neatly with scissors.
- Apply a small dab of fabric glue to knots for extra hold.
- Check all seams for any weak spots and reinforce if needed.
Personalizing Your Doll
Adding personal details makes your rag doll one of a kind. You can use colors, clothes, and accessories.
| Personalization Option | How to Do It | Effect |
| Embroidery | Sew names or patterns on the doll’s clothes | Adds character and uniqueness |
| Buttons | Sew buttons for eyes or clothes | Gives a charming, handmade feel |
| Clothing | Dress the doll in fabric scraps or small outfits | Makes the doll more lively and fun |
| Accessories | Add ribbons, hats, or small bags | Enhances the doll’s style and personality |
Care And Maintenance
Rag dolls need gentle care to stay soft and clean. Proper maintenance helps them last longer.
Knowing how to clean and store rag dolls keeps them safe from damage and dirt.
Cleaning Tips
Clean rag dolls by hand to avoid tearing or color fading. Use mild soap and cold water.
Spot clean stains quickly to prevent permanent marks. Avoid harsh chemicals or bleach.
- Use a soft cloth or sponge
- Gently dab the stained area
- Rinse with cold water carefully
- Press with a towel to dry
- Air dry away from direct sunlight
Storage Suggestions
Store rag dolls in a cool, dry place to prevent mold and mildew. Avoid damp or humid spots.
Keep dolls away from direct sunlight to stop fabric colors from fading.
- Use breathable fabric bags for storage
- Place dolls on shelves or in boxes
- Keep away from sharp objects
- Check stored dolls regularly for dust or pests
Credit: www.kylasomething.com
Frequently Asked Questions
What Materials Are Needed To Make Rag Dolls?
To make rag dolls, you need fabric scraps, needle, thread, stuffing, scissors, and markers. Optional items include buttons and ribbons for decoration. Using soft, durable fabrics makes the doll safe and long-lasting. These basic supplies ensure a simple and creative crafting experience.
How Do I Sew A Rag Doll Step-by-step?
Start by cutting fabric pieces for the doll’s body. Sew edges inside out, leaving a gap for stuffing. Turn the fabric right side out, stuff firmly, then sew the opening closed. Add facial features and clothing with thread or fabric markers.
This method creates a neat rag doll.
Can Beginners Easily Make Rag Dolls At Home?
Yes, beginners can make rag dolls at home. The process involves simple sewing and basic materials. Following clear instructions helps build confidence and skills. Rag doll projects are beginner-friendly, offering a fun introduction to sewing and crafting.
How Do I Customize Rag Dolls For Kids?
Customize rag dolls by choosing favorite colors and fabrics. Add unique features like embroidered eyes, hairstyles, or themed clothing. Personalizing dolls makes them special gifts and encourages imaginative play. Simple customizations enhance the doll’s charm and appeal.
Conclusion
Making rag dolls is a fun and creative activity anyone can try. You only need simple materials and a bit of patience. Each doll you create will have its own unique charm. This craft lets you enjoy old-fashioned handmade toys.
Plus, it’s a great way to spend time with family or friends. Start with small steps and enjoy the process. Soon, you’ll have lovely rag dolls to keep or share. Keep practicing, and your skills will grow with each doll you make.