In this guide
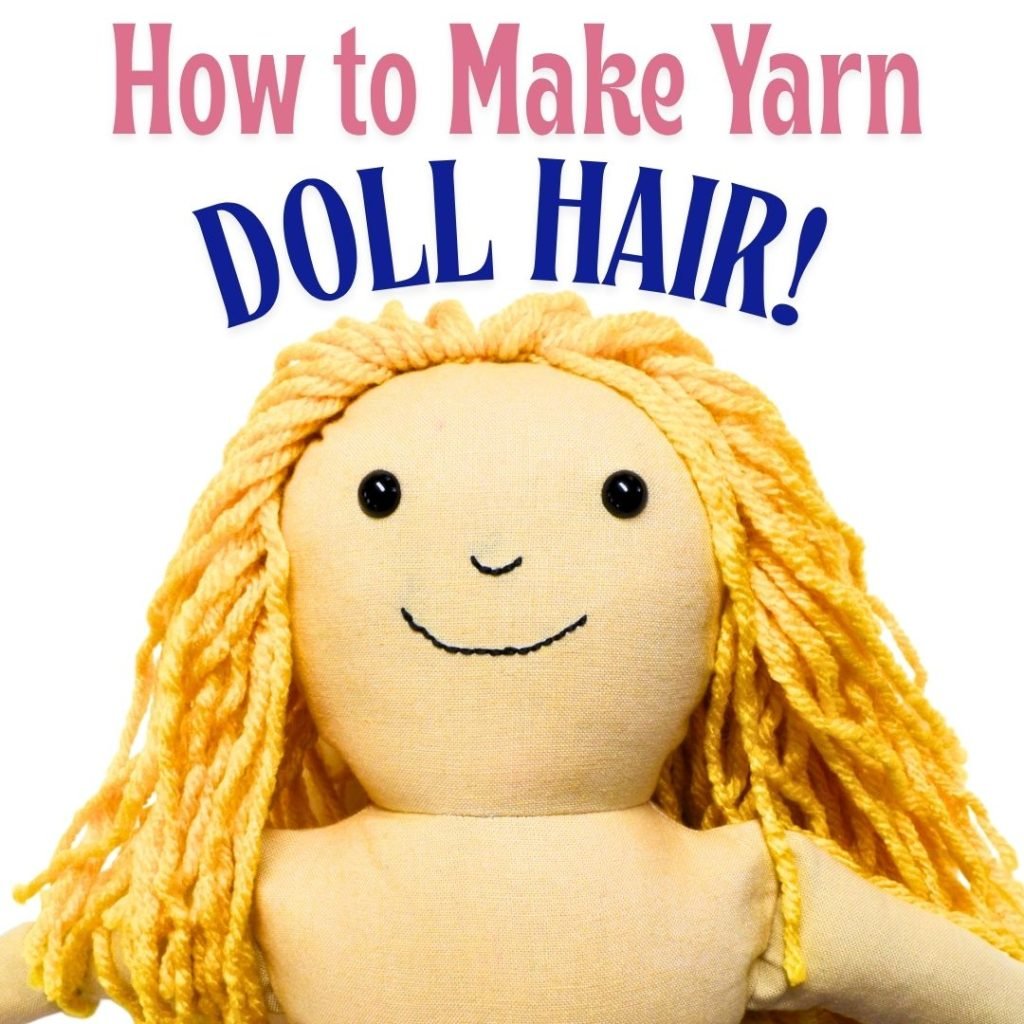
Have you ever wanted to create something charming and personal with your own hands? Making yarn dolls with hair is a fun and simple craft that lets you bring a little character to life.
Whether you’re looking for a unique gift, a creative project to do with kids, or just a way to relax, this guide will show you exactly how to make yarn dolls that stand out. Stick with me, and by the end, you’ll have the skills to craft your very own yarn doll with hair that looks just right.
Ready to get started? Let’s dive in!

Credit: leahday.com
Materials Needed
Making yarn dolls with hair is a fun and simple craft project. You only need a few basic materials to get started. These materials will help you create the doll’s body and add hair for a realistic look.
Gather all the supplies before you begin. This will make the process smooth and enjoyable.
Types Of Yarn
Choosing the right yarn is important for your doll’s appearance. Different yarn types give different textures and looks. You want yarn that is soft and easy to work with.
Here are some common yarn types for making yarn dolls with hair:
- Acrylic yarn: Affordable and comes in many colors
- Wool yarn: Soft and warm, but can be itchy
- Cotton yarn: Smooth and good for detailed work
- Blended yarn: Mix of fibers for durability and softness
Additional Supplies
You need more than yarn to make a complete doll. These extra supplies help shape the doll and add details like hair and face.
Some helpful additional supplies include:
- Scissors: To cut yarn and trim hair
- Needle and thread: To secure yarn pieces
- Cardboard or paper: For wrapping yarn evenly
- Glue: To attach hair or decorations
- Markers or paint: To draw faces on the doll
- Rubber bands or string: To tie yarn sections

Credit: www.pincutsewstudio.com
Preparing The Yarn
Making yarn dolls starts with getting the yarn ready. Proper preparation helps the doll look neat and last longer.
Focus on measuring and cutting the yarn carefully. Then, organize the strands for easy use during crafting.
Measuring And Cutting
Start by measuring the yarn length needed for the doll’s body and hair. Cut multiple strands of the same length for uniformity.
- Use a ruler or tape measure for accuracy.
- Cut yarn strands at least twice as long as the doll’s height.
- Prepare extra strands to avoid running short.
Organizing Yarn Strands
Keep the yarn strands tidy to prevent tangling. Group strands by color and length before assembling the doll.
| Yarn Color | Length (inches) | Quantity |
|---|---|---|
| Natural Beige | 12 | 20 strands |
| Dark Brown | 10 | 15 strands |
| White | 12 | 10 strands |
Forming The Doll Body
Making the body of a yarn doll is a fun and creative part of the process. You will use yarn to shape the head, arms, and torso. This gives the doll its form and character.
Focus on wrapping the yarn tightly and evenly. This helps the doll keep its shape and look neat.
Making The Head
Start the head by wrapping yarn around your fingers or a small object. Make sure to wrap enough layers to form a round shape.
Once the yarn is thick, slide it off gently. Tie a piece of yarn tightly around one end to close the head shape. This will keep the yarn from unraveling.
Creating The Arms And Torso
To make the arms, cut two equal lengths of yarn. Fold them in half and tie a small piece of yarn around the folded end to form hands.
For the torso, wrap yarn around the center of the doll’s body. Tie it tightly to separate the torso from the head and arms. Add more yarn to make the body thicker if needed.
- Fold yarn for arms and tie hands
- Wrap yarn around body for torso
- Tie yarn tightly to hold shapes
Adding Hair To The Doll
Adding hair to your yarn doll gives it a unique look. The hair can make your doll look more lively and fun. It is important to choose the right yarn and attach it well.
This guide shows simple ways to choose hair yarn, attach hair securely, and style it nicely for your doll.
Choosing Hair Yarn
Select yarn that matches the doll’s style and size. Soft yarns work well for smooth hair. Bright colors add fun and character to your doll.
- Use acrylic or wool yarn for softness
- Pick colors like brown, black, blonde, or bright shades
- Choose yarn thickness that fits the doll’s head size
- Avoid yarn that frays easily
Attaching Hair Securely
Attach the yarn hair tightly to keep it from falling off. Use knots or glue to fix the yarn in place. Secure hair strands close to the head for a neat look.
| Method | Description | Tip |
|---|---|---|
| Loop and Knot | Fold yarn in half and loop it around the head yarn. | Tie a tight knot to hold hair firmly. |
| Glue | Apply craft glue to the doll’s head and press yarn strands. | Use a small brush for even glue spread. |
| Sewing | Stitch yarn strands directly onto the head with a needle. | Use matching thread color for neatness. |
Styling The Hair
Once the hair is attached, style it to fit your doll’s personality. You can braid, cut, or leave it long. Keep the style simple and tidy.
- Braid the yarn for a classic look
- Trim yarn ends to shape the hair
- Leave yarn loose for soft, flowing hair
- Add small bows or ribbons for decoration
Finishing Touches
Finishing touches bring your yarn doll to life. Adding small details makes your doll unique.
Focus on simple steps to add personality and charm. This guide covers facial features and dressing.
Adding Facial Features
Use a fine-tip marker or embroidery thread to add eyes, nose, and mouth. Keep features simple and cute.
- Draw two small dots for eyes with a black marker.
- Add a tiny curved line for a smile.
- Use a light pink thread or marker for blush on cheeks.
- Stitch small eyebrows if desired.
Dressing The Doll
Dress your yarn doll using scraps of fabric or ribbon. Secure clothes with glue or thread.
| Clothing Item | Materials Needed | Tips |
|---|---|---|
| Shirt | Small fabric square, glue or thread | Fold fabric around doll’s body tightly |
| Skirt or Pants | Ribbon or fabric strip | Tie or glue at the waist |
| Hat | Felt or yarn | Glue or sew a small circle on top |

Credit: www.virtualdollconvention.com
Tips For Customizing
Creating yarn dolls is a fun craft. You can make each doll unique with simple changes.
By using different colors and adding accessories, your dolls can be special.
Using Different Yarn Colors
Yarn colors can change the look of your doll. Choose colors that match your style.
- Bright colors make dolls look cheerful.
- Pastel shades give a soft and cozy feel.
- Mix two or more colors for a unique pattern.
Incorporating Accessories
Accessories add character to your yarn dolls. They can be simple or detailed.
| Accessory | Effect |
| Buttons | Adds eyes or decorations |
| Ribbons | Creates bows or belts |
| Beads | Enhances with small details |
Common Mistakes To Avoid
Making yarn dolls can be fun and creative. Yet, beginners often make mistakes that are easy to avoid. Learn how to make your yarn dolls look great by sidestepping these common errors.
Understanding the basics can prevent frustration. Let’s look at some mistakes you should avoid when crafting yarn dolls with hair.
Choosing The Wrong Yarn
Not all yarns are suitable for making dolls. Some are too thick or too thin. This can make your doll look lumpy or flimsy.
- Select medium-weight yarn for best results
- Avoid yarns that easily unravel
- Test the yarn for softness and durability
Ignoring Hair Attachment Techniques
Attaching hair incorrectly can make your doll look untidy. It’s important to secure the hair firmly.
Ensure you loop the yarn through the doll’s head properly. Double-knot each strand for extra security.
Incorrect Proportions
Getting the proportions wrong can make your doll look odd. Keep in mind the balance between the doll’s body and head.
| Part | Ideal Proportion |
| Head | 1/4 of total height |
| Body | 1/2 of total height |
| Legs | 1/4 of total height |
Overstuffing The Doll
Overstuffing can make your doll look bulky. Use just enough stuffing to keep the doll firm but not hard.
- Start with small amounts of stuffing
- Distribute evenly to avoid lumps
- Check flexibility by gently pressing the doll
Frequently Asked Questions
What Materials Are Needed To Make Yarn Dolls With Hair?
You need yarn in various colors, scissors, and glue. Optional items include beads for eyes and ribbons for decoration. Choose soft yarn for hair to create a realistic look. These materials are easy to find and affordable.
How Do You Add Hair To Yarn Dolls?
Cut yarn strands to the desired hair length. Tie them at the doll’s head with a knot or glue. Style the hair by braiding or leaving it loose. This method creates a natural, customizable hairstyle.
Can Children Safely Make Yarn Dolls With Hair?
Yes, yarn doll making is safe for children with adult supervision. Use blunt scissors and non-toxic glue. It’s a fun, creative activity that improves motor skills and imagination. Always supervise to avoid small choking hazards.
How Long Does It Take To Make A Yarn Doll?
Making a yarn doll usually takes 15 to 30 minutes. Adding hair and details may extend the time slightly. Beginners might need more time, but practice speeds up the process. It’s a quick, enjoyable craft project.
Conclusion
Making yarn dolls with hair is a fun and creative activity. It helps you practice simple crafting skills step by step. You can choose different yarn colors to make each doll unique. Adding hair makes the dolls look lively and special.
This project suits all ages and is great for family time. Try making more dolls to improve your technique. Enjoy the process and share your creations with friends. Crafting brings joy and a sense of accomplishment. Keep practicing, and your yarn dolls will become even better.