In this guide
Have you ever wanted to create something charming and unique with your own hands? Making felt dolls is a fun and simple way to bring your creativity to life.
Whether you’re new to crafting or looking for a relaxing hobby, this guide will show you step-by-step how to make beautiful felt dolls that you’ll be proud to display or gift. Ready to discover how easy and rewarding it can be?
Keep reading, and you’ll be crafting your own adorable felt dolls in no time!
Materials Needed
Making felt dolls is a fun and creative activity. To start, you need the right materials. These help you create neat and lasting dolls.
Gathering all materials before you begin saves time. You can focus on making your doll without interruptions.
Choosing Felt Fabric
Pick felt fabric that is soft but firm. This makes your doll easy to sew and shape.
Wool felt is strong and holds its shape well. Acrylic felt is cheaper and comes in many colors.
- Choose colors that fit your doll’s design.
- Look for felt that does not shed easily.
- Use felt sheets about 1-2 mm thick for best results.
Essential Tools
You need some basic tools to make felt dolls. These help you cut, sew, and stuff the doll properly.
- Sharp scissors for cutting felt cleanly
- Needles for hand sewing the parts
- Thread matching your felt colors
- Polyester stuffing to fill the doll
- Fabric glue for small fixes
- Pins to hold pieces while sewing
Optional Embellishments
Extra decorations make your felt dolls unique. You can add eyes, hair, or clothes.
- Buttons or beads for eyes
- Embroidery thread for facial features
- Yarn or wool for hair
- Small ribbons or lace for clothes
- Fabric paint for details
Basic Doll Shapes
Making felt dolls starts with simple shapes. Learning these basic shapes helps you craft dolls easily. Each part of the doll has its own shape and size.
This guide covers the body, head, arms, and legs. You will see how to cut and sew each piece.
Creating The Body
The body is the main part of the doll. Cut two identical shapes from felt to make the front and back. Usually, the shape looks like a rounded rectangle or a soft oval.
- Draw the body shape on paper first
- Cut felt pieces following the paper pattern
- Sew the two pieces together, leaving a small gap
- Stuff the body lightly with cotton or fiberfill
- Close the gap with small stitches
Making The Head
The head is usually round or oval. Cut two felt circles for the front and back. Sew them together, stuff gently, and close the gap. You can add facial features after this step.
| Shape | Size | Notes |
| Circle | 3 inches diameter | Good for baby dolls |
| Oval | 3 x 4 inches | Fits adult dolls |
| Rounded square | 3 x 3 inches | Unique doll style |
Adding Arms And Legs
Arms and legs are thin and simple. Cut four identical pieces for arms and four for legs. Sew each pair inside out, then turn them right side out. Stuff lightly and attach to the body.
Here is a simple HTML snippet to help you draw arms and legs:
This shows two arm shapes side by side. Use this as a guide for your felt cuts.
Cutting And Sewing
Making felt dolls is a fun craft that involves careful cutting and sewing. These skills help create neat and durable dolls.
In this guide, we focus on transferring patterns, hand stitching, and using a sewing machine to make your felt dolls.
Transferring Patterns
Start by printing or drawing your doll pattern on paper. Use a pencil to trace the pattern onto the felt fabric. Make sure to place the pattern on a flat surface.
Pin the paper pattern to the felt to keep it from moving. Cut the felt carefully with sharp scissors following the traced lines. This keeps edges clean and shapes accurate.
Hand Stitching Techniques
Hand sewing is great for small details and finishing touches on felt dolls. Use embroidery thread and a sharp needle for best results.
- Use a running stitch for joining two felt pieces.
- Try a blanket stitch to make edges strong and pretty.
- Use a backstitch for areas that need extra strength.
- Make small stitches to keep the doll neat.
Using A Sewing Machine
A sewing machine can speed up making felt dolls. Choose a short stitch length and a sharp needle for thick fabric.
| Tip | Details |
|---|---|
| Needle Type | Use a universal needle size 80/12 |
| Thread | Choose polyester thread for strength |
| Stitch Length | Set to 1.5 mm for tight seams |
| Presser Foot | Use a standard foot or a walking foot |
| Fabric Handling | Guide felt gently to avoid stretching |
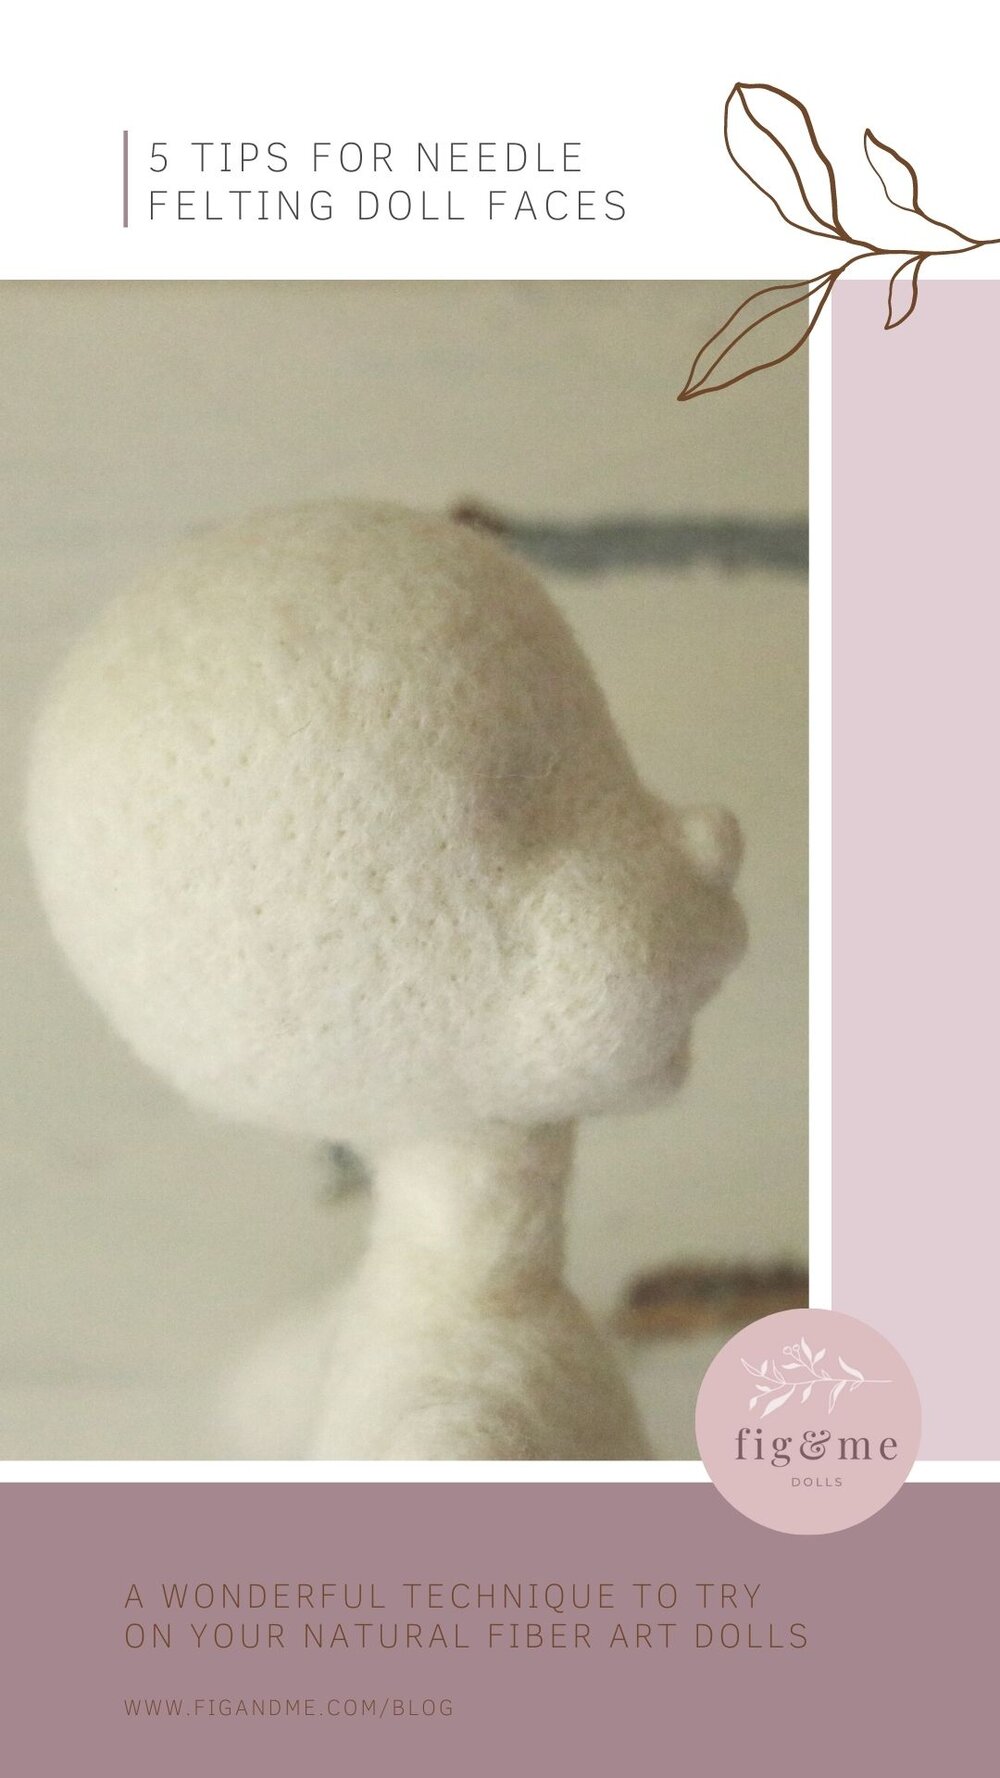
Credit: www.figandme.com
Stuffing The Doll
Stuffing a felt doll gives it shape and life. The right stuffing makes the doll soft but firm.
Careful stuffing helps the doll keep its form and last longer. It also affects how the doll feels to hold.
Best Filling Materials
Pick stuffing that is light and easy to work with. Some materials are better for different types of dolls.
- Polyester fiberfill is soft, light, and common.
- Cotton stuffing feels natural but can be heavy.
- Wool roving adds firmness and warmth.
- Fabric scraps are eco-friendly and cheap.
- Plastic pellets add weight for a firmer feel.
Choose stuffing based on the doll’s size and use. Soft dolls need fluffy filling, while poseable ones need firm stuffing.
Proper Stuffing Methods
Stuff the doll evenly to avoid lumps. Push stuffing gently into small parts like arms and legs.
- Use a small stick or chopstick to reach tight spots.
- Fill the body firmly but do not overstuff.
- Check the shape often while stuffing.
- Stuff larger areas first, then smaller parts.
- Close the doll carefully after stuffing to keep shape.
Proper stuffing makes the doll hold its shape well. Take your time to get an even, smooth finish.
Adding Facial Features
Felt dolls come to life with unique facial features. Adding eyes and mouths gives them character and expression.
There are various ways to add these features. You can embroider them or use buttons and beads for a different look.
Embroidering Eyes And Mouth
Embroidery offers a handmade touch to your felt dolls. Use simple stitches to create charming eyes and smiles.
- Choose embroidery thread in colors that contrast the felt.
- Use a needle to create small, neat stitches for eyes.
- For the mouth, try using a backstitch for a smooth line.
Using Buttons And Beads
Buttons and beads add a playful touch to felt dolls. They are perfect for creating vibrant and textured eyes.
Follow this simple guide:
- Sew buttons onto the face for eyes, ensuring they are secure.
- Use small beads for pupils to add depth.
- Experiment with different sizes for a whimsical look.

Credit: www.ebay.ca
Dressing The Doll
Dressing your felt doll adds charm and personality. Clothes make the doll look complete and ready for play.
You can create simple outfits with just a few pieces of felt. Sewing or gluing clothes is easy with basic tools.
Simple Clothing Patterns
Start with basic shapes like rectangles and circles for dresses and shirts. These shapes fit most doll sizes.
- Cut a rectangle for a dress or shirt body
- Use small strips for sleeves or straps
- Make a circle for skirts or hats
- Add simple details like collars or pockets
Attaching Clothes Securely
Secure clothes so they stay on during play. Use stitches, glue, or tiny fasteners depending on the doll’s use.
| Method | Use | Tips |
|---|---|---|
| Hand Stitching | Strong hold | Use small stitches and matching thread |
| Fabric Glue | Quick attach | Choose glue safe for felt and dry fully |
| Velcro | Removable clothes | Sew or glue small Velcro pieces inside clothes |
| Snaps or Buttons | Decorative and secure | Attach firmly and check for sharp edges |
Personalizing Your Doll
Giving your felt doll a unique look makes it special. You can change its style by adding hair and accessories. These details bring your doll to life.
Use simple materials and your creativity to make your doll one of a kind. Small touches make a big difference in the final look.
Adding Hair Styles
You can add hair using yarn, embroidery thread, or felt strips. Choose colors that match your doll’s personality.
- Cut yarn or felt into the desired hair length.
- Attach the hair with glue or by sewing it to the head.
- Style the hair by braiding, curling, or leaving it straight.
- Add small ribbons or bows for extra charm.
Decorative Accessories
Accessories can change your doll’s look quickly. Use buttons, beads, or small fabric pieces to decorate.
| Accessory | Material | Use |
| Buttons | Plastic or wood | Dress details or eyes |
| Beads | Glass or plastic | Jewelry or decoration |
| Ribbon | Fabric | Hair ties or belts |
| Felt pieces | Felt fabric | Hats, scarves, or shoes |
Troubleshooting Tips
Making felt dolls can be fun and creative. Sometimes, things don’t go as planned. Knowing how to fix common mistakes helps.
Here are some troubleshooting tips to maintain your doll’s shape and fix sewing issues.
Fixing Common Sewing Mistakes
Even experienced crafters make sewing mistakes. It’s important to spot them early and fix them. Here’s how:
- Use a seam ripper gently to avoid fabric damage.
- Re-stitch with even tension for uniform seams.
- Align fabric edges properly before sewing.
Maintaining Doll Shape
Maintaining the shape of your felt doll is crucial. Proper stuffing and fabric handling are key. Here’s a quick guide:
| Issue | Solution |
| Doll looks lumpy | Evenly distribute stuffing |
| Arms or legs misaligned | Pin before sewing |
| Head not round | Adjust stuffing quantity |

Credit: www.amazon.com
Frequently Asked Questions
What Materials Are Needed To Make Felt Dolls?
To make felt dolls, you need felt sheets, embroidery thread, needles, scissors, stuffing, and fabric glue. Optional supplies include beads and buttons for decoration. Using quality materials ensures a neat and durable doll.
How Do You Sew Felt Dolls By Hand?
Start by cutting felt pieces using a pattern. Use a whip stitch or blanket stitch to join pieces. Leave a small opening for stuffing. After stuffing, sew the opening closed carefully for a clean finish.
What Are Easy Patterns For Beginner Felt Dolls?
Simple shapes like animals, dolls with basic body parts, or hearts work best. Choose patterns with minimal pieces and straight lines. This helps beginners practice cutting and stitching without frustration.
How Do You Stuff Felt Dolls Properly?
Use polyester fiberfill or cotton for stuffing. Fill the doll evenly to avoid lumps. Stuff firmly but not too tight to maintain softness and shape. Adjust stuffing as you sew the final seams.
Conclusion
Making felt dolls can be a fun and creative hobby. You only need simple materials and some patience. Each doll you make will be unique and special. Practice helps you improve your skills over time. Enjoy the process, not just the result.
Share your dolls with friends or keep them as gifts. Felt dolls bring warmth and charm to any space. Start small, and see where your creativity leads you. Keep crafting and have fun every step of the way.